
How To Rendering: What Every Homeowner Needs to Know Before Starting
Understanding How To rendering properly is the difference between an exterior finish that lasts decades and one that starts failing within a few years. Whether you're looking at a cracked pebbledash, bare brickwork, or an older sand-and-cement coat that's past its best, the way a rendering project is planned and executed matters far more than most people realise — and far more than the product itself.
At City Renderers, we've spent 6 years working on rendering projects across a wide range of property types, and the questions homeowners ask first are nearly always the same: where do I start, what system is right, and how do I make sure it's done correctly? This guide walks through each of those honestly.
What "How To Rendering" Actually Involves
A sequenced process where each stage determines whether the next one succeeds — that's the reality of rendering. Render is a cement- or polymer-based coating applied to exterior masonry walls to protect the substrate from weathering, improve thermal performance, and give the property a clean, uniform appearance.
The three most common systems used on domestic properties today are:
- Silicone render — a flexible, hydrophobic polymer coating that repels water while allowing vapour to escape. Resistant to algae and pollution staining, and available in a wide colour range.
- Monocouche render — a through-coloured, single-coat system applied thicker than traditional renders. Durable on stable substrates, typically used on newer brickwork.
- Sand-and-cement render — the traditional multi-coat system, still appropriate for certain substrates but less forgiving of movement than modern polymer alternatives.
Understanding which system suits your property is the first decision. Get that wrong, and no amount of skilled application fixes it.
Preparation: The Stage That Determines Everything
In our experience, the most common cause of premature render failure is inadequate substrate preparation — not the render product or even the weather. A wall that looks solid can still be powdery, contaminated with algae or salts, or structurally unstable at the surface.
Proper preparation typically involves:
- Inspecting the substrate for cracks, hollow sections, or areas of failed existing render that need hacking off
- Cleaning the surface to remove algae, moss, loose material, and any paint or coating that would prevent adhesion
- Repairing significant cracks or damage before any base coat goes on — rendering over a cracked wall seals in the problem rather than fixing it
- Applying a bonding agent or primer where the substrate is very smooth, highly absorbent, or otherwise at risk of poor adhesion
- Protecting doors, windows, and soffits with masking and sheeting to prevent overspray or splash damage
Skipping any of these steps to save time or cost is false economy. A poorly prepared wall will show movement cracks, delamination, or blow-off patches within one to three winters, sometimes sooner.
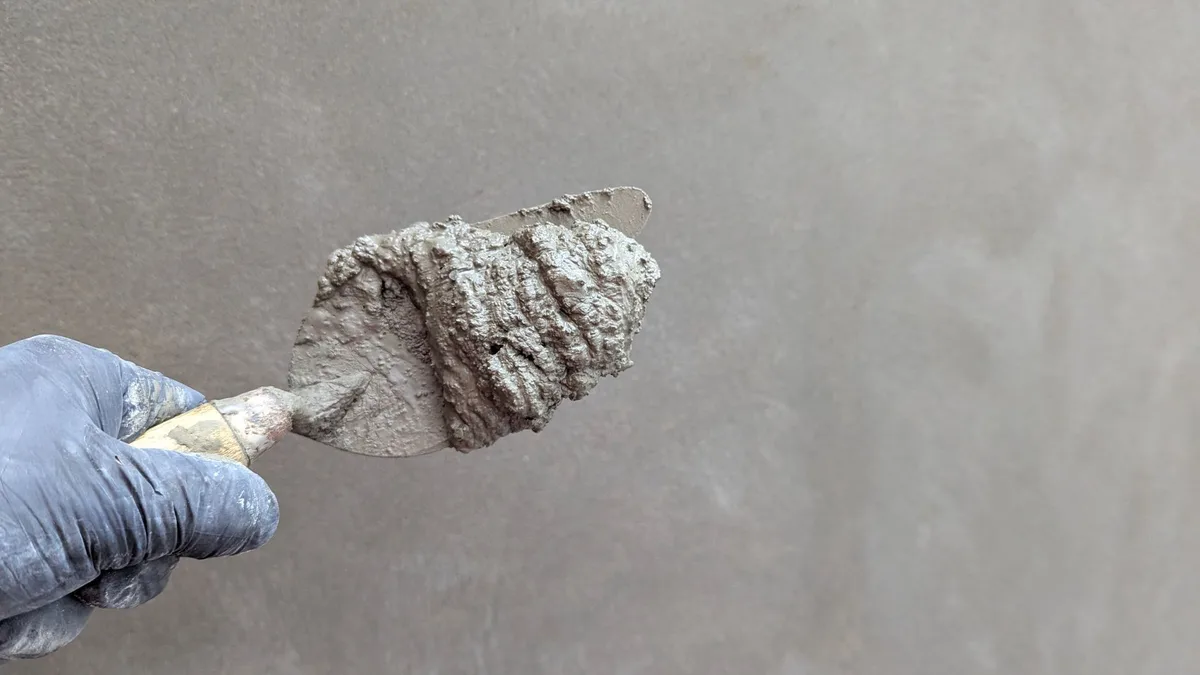
How To Rendering: The Application Process Stage by Stage
Once the substrate is prepared, the typical sequence follows a clear logic. The specifics vary by system, but the approach is the same across most domestic jobs.
Base coat application involves a scratch or bonding coat applied to the wall to create a level, keyed surface for the finish coat. On external wall insulation (EWI) systems, this stage also incorporates the rigid insulation boards fixed to the structure.
Mesh reinforcement — a fibreglass scrim layer embedded into the base coat while it's still wet — distributes movement stress across the surface and significantly reduces the risk of cracking through the finish coat. It's not optional on most modern systems, it's structural.
Finish coat application is the visible layer, whether silicone, monocouche, or a fine sand-and-cement skim. Timing matters here. The base coat needs to have cured sufficiently but not become too dry or contaminated before the finish goes on. Application in direct sun, frost, or high wind can all compromise the result, which is why experienced renderers schedule around weather conditions rather than pushing through regardless.
Curing and protection — most modern systems need 24-48 hours without rain to cure properly. Some silicone products are rain-resistant within a few hours, but cold temperatures slow curing across all systems. A good contractor will always discuss curing conditions before starting.
Choosing the Right Render System for Your Property
Not every system suits every property, and an honest assessment of the substrate matters more than a preference for a particular product. City Renderers is K Rend approved, which means we work with a product range designed specifically for local weather conditions and a variety of substrate types, and our CSCS-qualified team applies those systems to manufacturer specification.
Some broad principles that guide system selection:
- Older properties with lime mortar or flexible masonry generally need a system with some flexibility built in, silicone or a polymer-modified base coat rather than a rigid sand-and-cement mix
- Newer cavity wall construction is usually stable enough for monocouche, provided the brickwork joints are sound
- Properties with significant cracking history or movement need investigation before any render is specified, the cause of the movement should be addressed structurally, not masked with render
- North-facing or shaded elevations are more prone to algae growth, which makes silicone's hydrophobic properties particularly valuable in those areas
The finish colour is also worth thinking through carefully. Lighter colours show dirt less readily, while very dark colours absorb heat and can increase thermal stress at the surface over time.
For properties requiring full exterior upgrades, our house rendering service covers the full specification and application process, while our silicone rendering service focuses specifically on polymer systems for longer-lasting results.
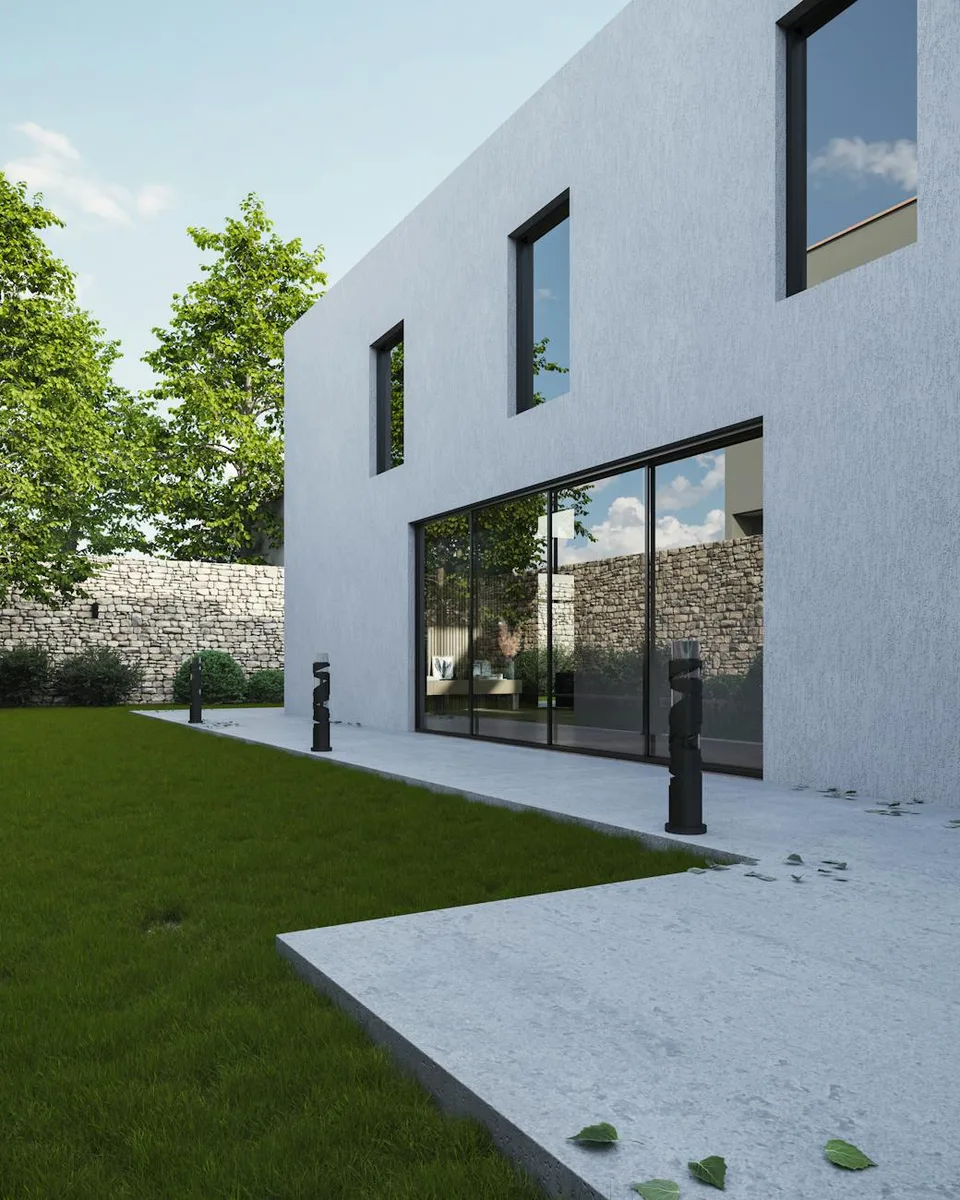
What Good Rendering Work Looks Like, And How to Spot Poor Work
Knowing what a well-executed rendering job looks like helps homeowners assess whether the work they're receiving is being done correctly.
Signs of quality work in progress:
- Existing failed render is fully hacked off before anything new goes on
- All preparation steps are visibly completed before the base coat starts
- Mesh is embedded with no dry patches or visible gaps
- The finish coat is applied in consistent passes with no over-working or dragging
- Beads and trims are fitted at reveals, corners, and junctions to give clean lines and protect vulnerable edges
Signs worth querying:
- New render going straight onto old failed render without hacking off
- No mesh reinforcement stage visible on a silicone or EWI system
- Finish coat applied in direct sun on a hot day without discussion of conditions
- Window reveals and corners with no corner beads or inadequate masking
A good contractor will also point these things out unprompted and explain why each stage matters. If the person quoting is unable or unwilling to describe the preparation process in detail, that's worth noting.
How Long Does Rendering Last?
Modern silicone render systems applied to a well-prepared substrate typically outlast the older sand-and-cement systems by a significant margin. Product life depends on the system specified, the quality of preparation, application conditions, and the exposure of the elevation. Our work is backed by a 10-30 Years Coating warranty, which reflects the performance difference between correctly specified and applied modern systems versus quick-fix approaches.
Traditional sand-and-cement render on a stable substrate can last well too, but it's more brittle and less forgiving of minor movement, hairline cracking is common within five to ten years on properties that experience any seasonal thermal movement.
If your existing render is showing hairline cracks, take a look at our render repair guide to understand whether surface repair or a full replacement is the right approach. Not every crack requires starting from scratch, but some do, and the assessment matters.
Frequently Asked Questions
What preparation is needed before rendering starts?
Thorough preparation is the foundation of any successful rendering job. This typically means hacking off failed existing render, cleaning the substrate of algae and contaminants, filling significant cracks, priming where needed, and masking all adjacent surfaces. Skipping preparation to reduce cost almost always leads to premature failure.
Can rendering go over existing render?
In some cases, yes, but only where the existing render is sound, well-bonded, and free of hollow sections. Any areas that sound hollow when tapped need to come off before anything new is applied. Rendering over failing material traps the problem underneath and typically causes the new coat to fail alongside the old one.
Is rendering suitable for older properties?
Older properties can be rendered successfully, but the system specification needs to account for the flexibility of older lime mortars and masonry. Rigid sand-and-cement systems are generally unsuitable for pre-1919 solid-wall construction. A flexible polymer system or breathable lime-based render is usually the better match for period properties.
How do I know if I need repair or full replacement?
If less than 30% of the render surface is affected by cracking, delamination, or failure, targeted repair is often viable. Where failure is widespread or the substrate beneath is compromised, a full strip-back and re-render tends to be more cost-effective over a ten-year horizon than repeated patching. Our render repair service covers both approaches.
How do I find a qualified rendering contractor?
Look for contractors with CITB training background and CSCS card holders on site, both indicate formal trade training rather than self-taught application. Ask specifically about their preparation process and which systems they're approved to apply. A contractor who can't explain the preparation sequence in detail is unlikely to execute it well.
If you'd like an honest assessment of your property's existing render, whether it needs repair, replacement, or a full system upgrade, City Renderers is happy to take a look. Book a free site visit and we'll respond within 24 hours, or call us directly on +447588418550. You can also Request Your Free Quote if you'd prefer to start with a written estimate. For more on what we cover locally, see the areas we serve.