
Render Patch Repair
Render Patch Repair is the process of cutting out and reinstating a localised section of damaged render without stripping the entire wall. It is a practical, cost-effective approach when damage is contained — but the outcome depends almost entirely on correct diagnosis, compatible materials, and thorough preparation.
What Render Patch Repair Involves
Patch repair addresses a specific damaged area rather than replacing the full render coat. It is appropriate when deterioration is genuinely localised — isolated cracks, a section of blown material, or a small area damaged by impact. Where failure is widespread, or where the original render has reached the end of its serviceable life across the whole elevation, a full re-render is usually the better decision.
Most common render types can be patch repaired, including cement-based, lime, and polymer systems, though each presents its own challenges around adhesion and finish.
Why Render Develops Damage That Needs Patching
Moisture is the single most common trigger for render failure. Water penetrating behind the surface — through cracks, failed sealant around windows, or a porous substrate — breaks the bond between the render and the wall beneath. Repeated freeze-thaw cycles then accelerate the breakdown.
Wall movement and settlement introduce stress into a rigid render coat. Even minor structural movement creates cracks, particularly at corners and around openings where stress concentrates.
Poor original application accounts for a significant proportion of premature failures. An overly rich cement mix applied too thickly, or a finishing coat that is harder than the backing coat, creates a surface prone to cracking and delamination.
Joints around windows, doors, and service penetrations are frequent failure points. When mastic or sealant at these junctions deteriorates, water finds a direct route behind the render.
What Blown Render Is and How to Spot It
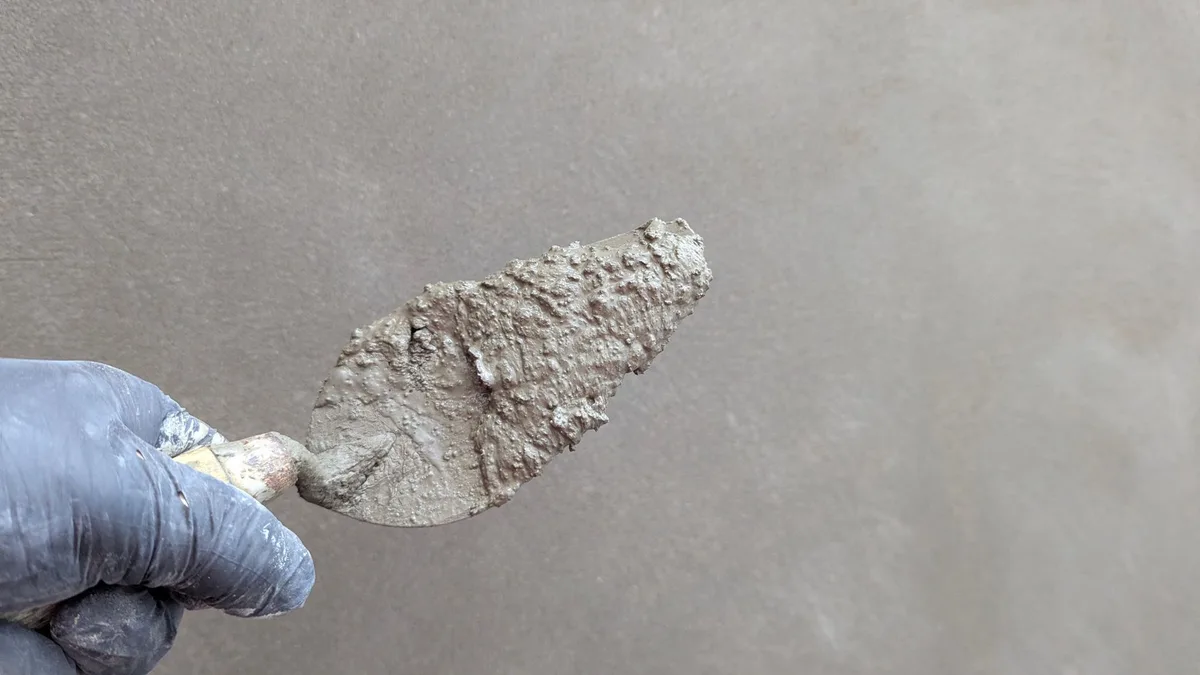
Blown render is render that has lost its adhesion to the substrate and separated from the wall surface, forming a hollow void behind the face of the coat. It typically forms when moisture infiltrates behind the render and the freeze-thaw cycle forces the material away from the wall over successive winters.
To identify blown areas before starting a Render Patch Repair, tap the surface systematically with a rubber mallet or the handle of a screwdriver. A dull, hollow sound indicates a void; a solid thud means the render is still bonded. The hollow area is often larger than it appears from the surface.
The presence of blown render almost always indicates moisture behind the surface. Before patching, it is important to understand where that moisture originated — otherwise the same process will repeat.
Whether Cracked Render Signals a Structural Problem
Most render cracks are cosmetic. Fine hairline cracks across a render surface are a normal result of thermal movement and minor shrinkage, and they do not indicate anything structurally significant.
Cracks that warrant closer attention are those that are wide (typically more than around 2–3 mm), that follow a diagonal path across a wall, that pass through both the render and the masonry behind, or that are still actively growing. Stepped cracking following mortar joints in the underlying brickwork is a recognised warning sign of differential settlement.
If cracks reappear shortly after patching, or if doors and windows in the same area are sticking or distorting, a structural assessment should come before any further repair work. Render Patch Repair on an actively moving wall will not hold.
How a Render Patch Repair Is Carried Out
A proper patch repair begins with mapping the full extent of the damaged area, including blown sections that may not be visually obvious. The damaged render is then cut back cleanly to a firm edge — feathering a patch into loosely bonded render always leads to early failure.
The exposed substrate is cleaned and any contamination, loose material, or organic growth is removed. The surface is keyed mechanically where necessary to provide a grip for the new material. On absorbent substrates, controlled pre-wetting or a bonding treatment is applied to prevent the fresh render from drying out too quickly.
The repair is built up in compatible layers, each allowed to reach the appropriate firmness before the next is applied. Rushing the build-up is a common cause of slumping and poor adhesion. The finish coat is worked to match the texture and profile of the surrounding surface as closely as possible.
Patch Repairing Silicone Render
Silicone render presents particular challenges in a patch repair context. Its hydrophobic surface makes mechanical keying less effective, and adhesion between the patch and the existing material requires careful preparation.
Colour matching is the most visible difficulty. Silicone render colours are manufactured to specific formulations, and a patch mixed from a nominally identical colour may not match once dry — especially on a weathered surface that has faded over several years.
New silicone render can be applied over existing silicone render where the original coat is fully adhered and structurally sound, but the surface must be primed with a compatible silicone primer first. Applying silicone over a poorly bonded or contaminated substrate will not produce a lasting repair. For more on how silicone systems are installed and maintained, see our Render repair service.
Choosing the Right Material for the Patch
Using an incompatible repair material is one of the most reliable ways to ensure a patch fails early. The new mix must be broadly compatible with the original render in terms of strength, flexibility, and breathability.
Cement-based renders are strong but relatively rigid and impermeable. On traditional solid-wall masonry, this can trap moisture and cause damage behind the surface. Lime-based renders are softer, flexible, and breathable, making them the appropriate choice on older stone or brick construction. Polymer-modified renders sit between the two, offering improved flexibility and some breathability.
Breathability is particularly important on traditional masonry and solid walls, which rely on the render to allow moisture vapour to escape. Sealing such walls with an impermeable cement-based patch forces moisture to find other exits, often resulting in further failure nearby.
Can You Repair Render Yourself
Small, contained areas of cracked render, hairline surface cracks or minor impact damage on a cement or polymer system, are within the scope of careful DIY work. Pre-mixed repair products are widely available, and for simple jobs the process is straightforward if preparation is done properly.
The scope changes when the area is large, when the render is blown across multiple sections, or when the original system is lime-based or silicone. These situations require material knowledge and mixing discipline that is difficult to achieve without experience. For a detailed look at what DIY repair involves in practice, the Guide to repairing render yourself covers the process step by step.
Using the wrong product, for example, applying a cement-rich repair mix to a lime render wall, can cause more damage than leaving the crack untreated.
Frequently Asked Questions
The questions below address the specific points that come up most often when homeowners and property managers are assessing render damage.
What is blown render?
Blown render is render that has separated from the substrate beneath it, leaving a hollow void behind the surface. It forms when moisture infiltrates behind the render and repeated freeze-thaw cycles force the material away from the wall. Tapping the surface with a mallet reveals it by the hollow sound it produces.
Is cracked render a structural defect?
Not usually. Fine surface cracks are a normal result of thermal movement and minor shrinkage. Wide diagonal cracks, cracks that pass through to the masonry, or cracks that reopen after repair can indicate structural movement and warrant investigation before any render work is carried out.
Can you repair render yourself?
Yes, for small areas of surface cracking on cement or polymer systems. Larger areas, blown sections, lime renders, and silicone systems are better handled by a professional due to the preparation and material knowledge involved.
Can you patch up silicone render?
Silicone render can be patched, but it is technically demanding. The surface must be primed with a compatible silicone primer, and colour matching is rarely exact on weathered elevations.
Can you silicone render over new silicone render?
New silicone render can go over an existing silicone coat provided the original is fully adhered and the surface is properly primed. Applying directly to a contaminated or poorly bonded surface will not produce a lasting result.
What are some common problems with silicone render?
Colour inconsistency between patches and the original surface is the most common visible issue. Adhesion failure at patch edges, streaking from inadequate primer application, and cracking where the patch meets a rigid substrate are also frequently encountered. Most problems trace back to inadequate preparation rather than the material itself. The Finding render repair near you guide covers what to look for when selecting a contractor for this type of work.
If you would like to discuss your render repair with a specialist, get in touch and we will connect you with a suitable installer. Call +447588418550 to speak with the City Renderers team directly.